Title: Homemade Wafer Cookies – Crispy, Light, and Easy to Make!
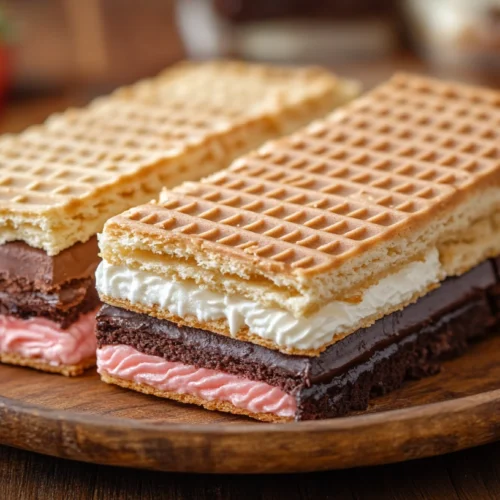
These homemade wafer cookies are light, crispy, and perfect for snacking or pairing with coffee and tea. Made with simple ingredients, they offer a delightful crunch and can be customized with different flavors and fillings like chocolate, vanilla, or hazelnut. Whether you enjoy them plain or as a base for desserts, these wafer cookies are easy to prepare and absolutely delicious!
Equipment
- ✔ Mixing bowls – For combining ingredients.
- ✔ Whisk or electric mixer – To mix the batter smoothly.
- ✔ Measuring cups and spoons – For accurate ingredient portions.
- ✔ Wafer iron or waffle cone maker – To create thin, crispy layers.
- ✔ Baking sheet & parchment paper (if using an oven).
- ✔ Cooling rack – Helps wafers cool and crisp up properly.
- ✔ Spatula – To spread the batter evenly.
Ingredients
- For Plain Wafers:
- ✔ 1 cup 125g all-purpose flour
- ✔ ¼ cup 50g sugar
- ✔ ½ cup 120ml milk or water
- ✔ 2 tablespoons 30g unsalted butter, melted
- ✔ 1 teaspoon vanilla extract optional, for extra flavor
- ✔ ½ teaspoon baking powder
- ✔ Pinch of salt
- For Cream-Filled Wafers Optional:
- ✔ ½ cup 120g chocolate, hazelnut, or vanilla spread
- ✔ ¼ cup 60g powdered sugar
- ✔ 2 tablespoons 30ml heavy cream
Instructions
- Step 1: Prepare the Batter
- 1️⃣ In a mixing bowl, whisk together flour, sugar, baking powder, and salt.
- 2️⃣ Add melted butter, milk, and vanilla extract. Stir until smooth.
- 3️⃣ The batter should be thin and pourable—similar to pancake batter. If it's too thick, add a little more milk.
- Step 2: Cooking the Wafers
- 🔹 Using a Wafer Iron (Best for Crispy Wafers):
- 1️⃣ Preheat the wafer iron and lightly grease it with butter or oil.
- 2️⃣ Pour a small amount of batter (about 1 tablespoon) onto the iron.
- 3️⃣ Close the lid and cook for 2-3 minutes or until golden brown.
- 4️⃣ Carefully remove the wafer and place it on a cooling rack.
- 🔹 Using an Oven (Alternative Method):
- 1️⃣ Preheat your oven to 375°F (190°C).
- 2️⃣ Spread a thin layer of batter onto a parchment-lined baking sheet.
- 3️⃣ Bake for 7-10 minutes, checking frequently to prevent burning.
- 4️⃣ Once golden, remove and let cool before cutting into squares or rectangles.
- Step 3: Adding the Filling (Optional)
- Once the wafers have cooled, spread a thin layer of chocolate, hazelnut, or vanilla cream between two wafers.
- Gently press them together and let them set for about 10 minutes before serving.
Notes
✔ For Extra Crispiness: Let the baked wafers cool completely before stacking or storing.
✔ Flavor Variations: Add cocoa powder, cinnamon, or almond extract to the batter for a twist.
✔ Storage: Store in an airtight container at room temperature for up to 1 week.
✔ Best Pairings: Enjoy with coffee, tea, or ice cream for a delicious treat!
✔ Flavor Variations: Add cocoa powder, cinnamon, or almond extract to the batter for a twist.
✔ Storage: Store in an airtight container at room temperature for up to 1 week.
✔ Best Pairings: Enjoy with coffee, tea, or ice cream for a delicious treat!